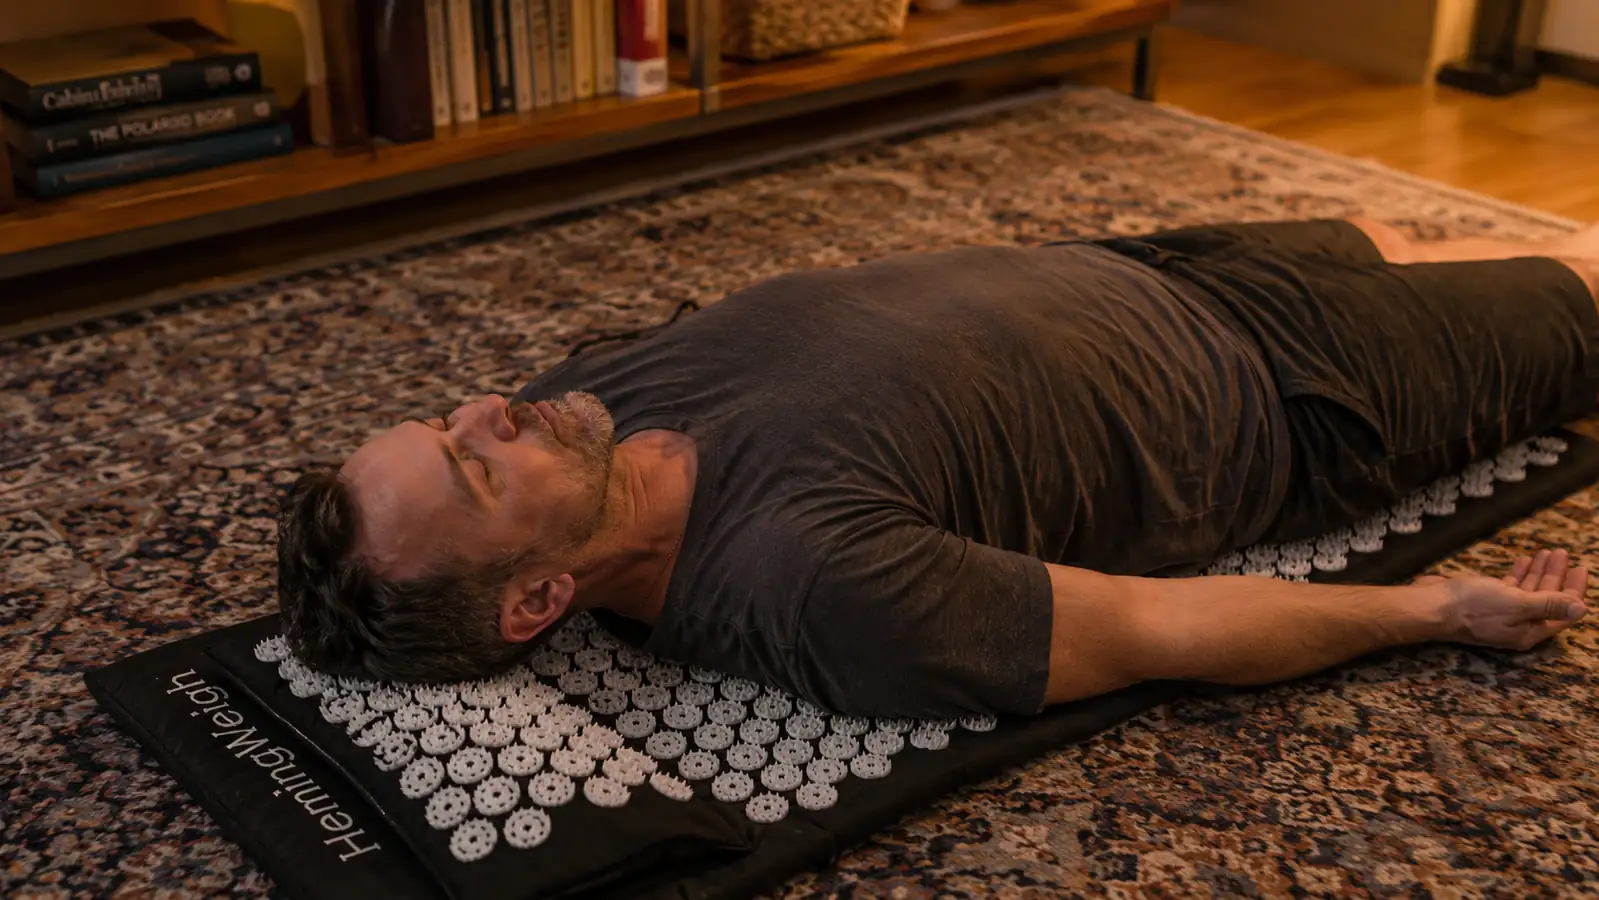
The first time I laid my bare back down on an acupressure mat, I lasted about eleven seconds before I sat straight back up like I'd touched a hot stove. That was a mistake I made because nobody told me there was a right way to start. I'd heard guys at my gym talk about how a spike mat unwound their lower back better than anything else in their routine, so I bought one, skipped the instructions, and went in cold. It felt like lying on a bed of Legos, and not in a good way.
It took me a few weeks of doing it wrong before I figured out the actual process, and once I did, the HemingWeigh mat became one of the more reliable tools in my evening routine, right up there with the foam roller I'd been using for years. The difference between that rough first try and where I am now is entirely about sequence, not tolerance for pain. Here's the exact process, step by step, the same one I still run most nights my back is tight from a heavy pull day or too many hours at my desk.
The Mat I Built This Exact Routine Around
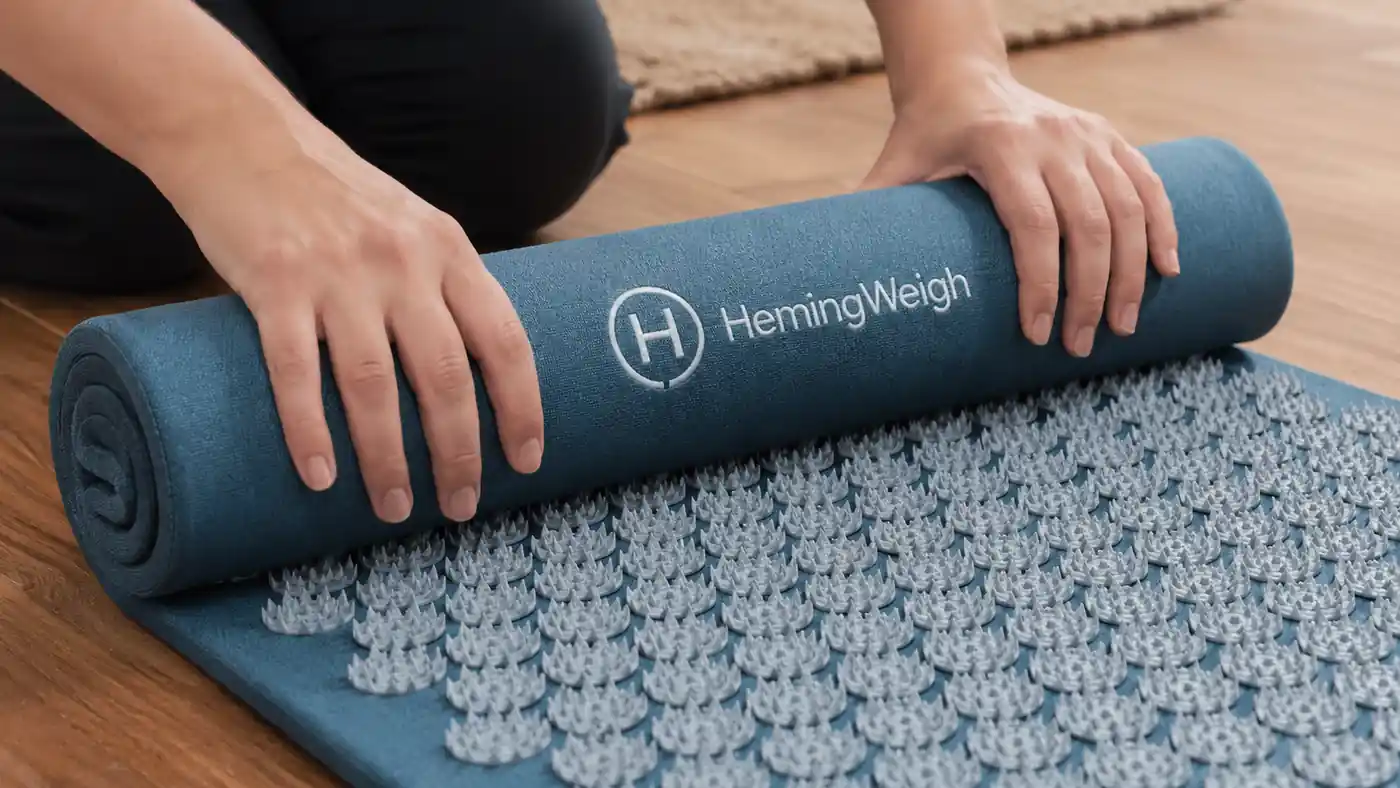
Everything below is built around the HemingWeigh acupressure mat and pillow set, the one that's lived in my living room for months now. Check today's price on Amazon before we get into the steps.
Amazon Check Today's Price on Amazon →Step 1: Start With a Shirt On, Not Bare Skin
This is the step I skipped and paid for. The spikes on the HemingWeigh mat are designed to press into pressure points and stimulate circulation, but on skin that's never felt anything like it, that sensation reads as sharp pain rather than the deep, releasing pressure it's supposed to be. Lying down bare-backed on session one is the single most common reason people try an acupressure mat once and never touch it again.
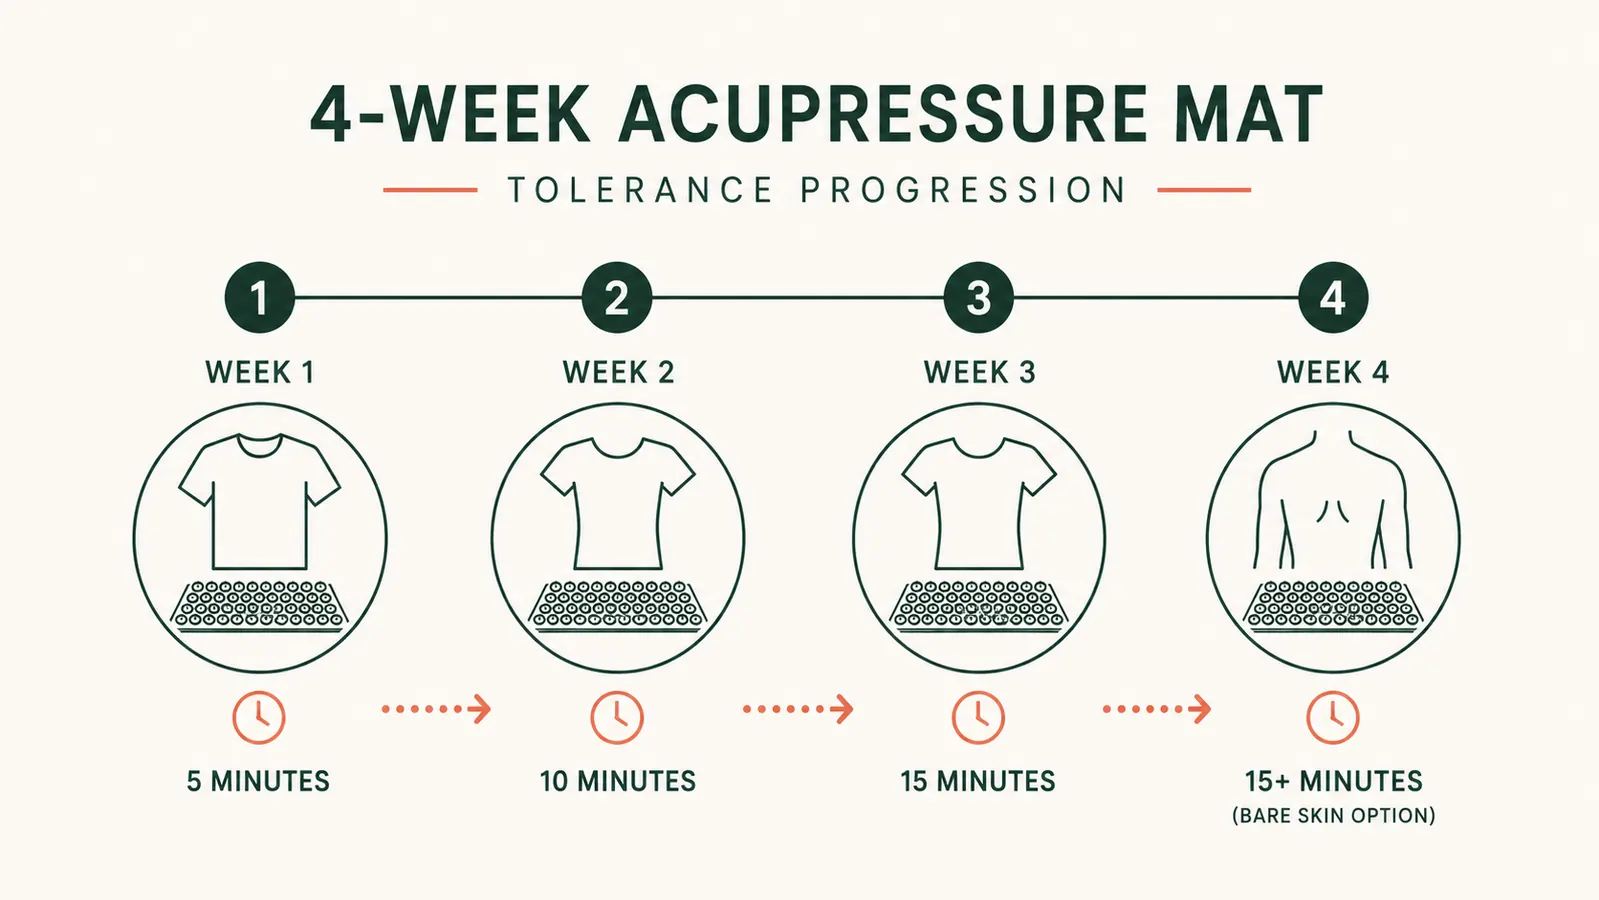
For your first week, wear a regular cotton t-shirt, the kind you'd sleep in, not a thin tank top. The fabric dulls the initial sharpness just enough that your nervous system can register the pressure as something useful instead of something to flinch away from. I did this for close to two weeks before I ever tried it against bare skin, and honestly I still keep a shirt on most nights even now, because it's simply more comfortable for a longer session.
If a plain cotton shirt still feels too intense the first couple times, a thin folded towel between you and the mat works as an even softer buffer. That's not cheating, that's just building tolerance the smart way. You can always take a layer away later. You can't take back a first impression that made you want to throw the thing in the closet.
I also learned to pay attention to what I'd eaten or how caffeinated I was before a session. A jittery, wired nervous system reads the same pressure as more intense than a calm one does. My worst early sessions were right after a late afternoon coffee. My best ones came after dinner, when I was already starting to wind down for the night anyway.
Step 2: Warm Up First, Even If It's Just Two Minutes
My back handles the mat far better on nights I've done even a short warm-up first, a few minutes of walking around the house, some light cat-cow stretches on the floor, or just finishing a shower where the hot water already loosened things up. Cold, stiff muscle tissue reads pressure differently than tissue that's already got some blood moving through it.
This doesn't need to be a production. I'm talking two or three minutes, not a full mobility routine. On leg day or pull day I'm usually warm enough from training that I skip this step entirely and go straight to the mat once I'm home. On a pure desk day where I've been sitting since 7am, I'll do a couple minutes of movement first because going in stone cold makes the first few minutes on the mat rougher than they need to be.
I also make a habit of checking in with how my back actually feels before I lie down, not just assuming it's the same as last time. Some nights it's a tight band across my lower back from deadlifts. Other nights it's more of a diffuse ache between my shoulder blades from hunching over a laptop. Knowing which one I'm dealing with changes how I position myself in the next step.
Step 3: Place the Mat, Then Lower Down Slowly, Not All at Once
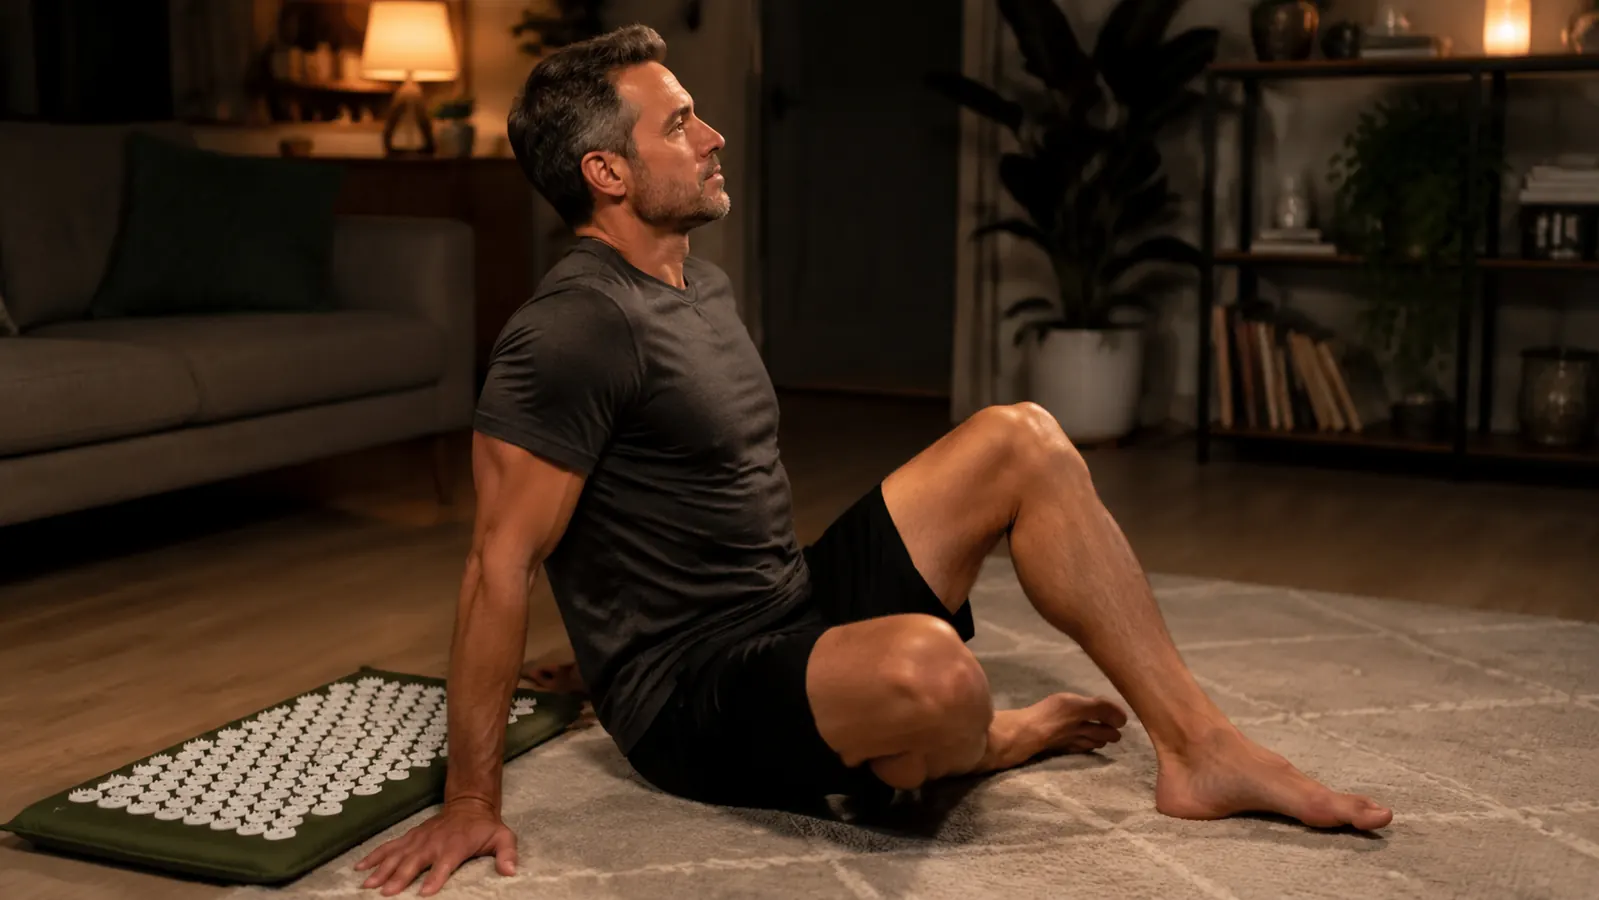
I lay the mat flat on a rug rather than bare hardwood, mostly for a little extra cushion under the mat itself, then position it so the center lines up with wherever my tension actually lives that night, usually my lower back or the flat muscle along my spine between the shoulder blades. If I'm targeting my whole back, I center it on my mid to lower spine and let the coverage spread naturally when I lie flat.
The mistake I made early on was dropping straight down onto it the way you'd flop onto a couch. Instead, I sit down first with my knees bent and the mat behind me, then lower my back down slowly, a controlled recline rather than a drop. That first ten seconds of contact is the most intense part of the whole session, and controlling how fast you make contact makes a real difference in how tolerable it feels.
Once my back is fully down, I let my arms fall out to the sides, palms up, and let my head rest flat or on a thin pillow if my neck wants support. Fighting the sensation by tensing up defeats the purpose. The first minute is the hardest part, and I've learned that if I can just breathe through it instead of arching away from the pressure, it eases up noticeably by minute two.
A flat, firm rug or a thin yoga mat underneath gives a little more even support than bare hardwood, especially for your tailbone and shoulder blades where there's less natural padding. I tried it on a plush carpet once and the mat sank in unevenly, which threw off the pressure distribution across my back. Firm and flat works better than soft and cushy here.
Step 4: Breathe Slowly and Let Your Weight Actually Settle
This step sounds soft, but it's the one that actually determines whether a session works. My instinct in that first minute is always to hold my breath and brace, the same reflex you'd have touching something too hot. That tension keeps your back hovering slightly instead of actually sinking into the spikes, which means you get less benefit and more discomfort for the same amount of time.
I count slow breaths now, in for four, hold for a beat, out for six, and focus on letting my shoulder blades and lower back get heavier with each exhale. It's basically the same principle as a body scan relaxation exercise, except there's a physical anchor forcing you to actually pay attention instead of your mind wandering off. By the third or fourth breath, most nights, the initial sharpness has faded into something closer to a deep, dull pressure, almost like a firm massage.
If a specific spot is still genuinely too intense after a minute of steady breathing, that's useful information, not something to just push through. I'll shift my hips slightly to change the pressure points contacting that area, or place a folded towel under just that section. The goal is deep pressure you can relax into, not pain you're gritting your teeth against.
Closing my eyes seems to matter more than I expected. With my eyes open I kept subconsciously bracing, watching the ceiling fan, staying half-alert. Eyes closed, paired with the breathing, is what actually gets me to that loose, heavy feeling in my back by the halfway point of a session.
Step 5: Hold 15 to 20 Minutes, Then Build Tolerance Over Weeks, Not Days
My first sessions were five minutes, and that was plenty. I didn't try to be a hero about it. Over about four weeks, I gradually worked up to 15 to 20 minutes as my normal session length, adding a few minutes at a time as it started feeling less intense and more genuinely relaxing. Trying to rush that progression is exactly how people end up quitting on week one.
Somewhere around week three I finally tried it against bare skin instead of through a shirt, and by then it felt completely different than that first eleven-second experiment, more like the deep tissue pressure people had described to me at the gym in the first place. That's the version of this tool that actually earns its spot in a recovery routine, and you only get there by not skipping the buildup.
These days I run a session most evenings I've trained hard, usually paired with the pillow that comes in the set under my neck for a few minutes at the end. On lighter days I'll skip it or keep it shorter, five or ten minutes just to stay loose rather than working through anything specific. Consistency did more for my lower back over three months than any single long session ever did.
When I stand back up, I don't jump straight up off the floor. I roll onto one side first, push up with my arms, and let myself stand slowly. My back tends to feel slightly tender right after a session, in a good way, similar to how it feels after a deep tissue massage, and standing up too fast undoes some of that loose feeling before it has a chance to settle in.
What Else Helps
The mat handles tension and circulation well, but it's not solving the reasons my back gets tight in the first place. Pairing it with basic hip flexor and hamstring mobility work earlier in the day cuts down on how tight my lower back gets by evening, since a lot of my lower back trouble traces back to tight hips from sitting. I also keep water nearby during a session, dehydrated muscle tissue seems to hold tension longer regardless of what tool you throw at it.
I've noticed the mat pairs well with a foam roller session rather than replacing one. On heavier training weeks I'll roll out my quads and lats first, then finish on the mat as the wind-down piece. Used together, they cover different ground, the roller for targeted, direct pressure on specific muscles, the mat for a broader, more passive release across my whole back at once.
If you're dealing with a fresh, sharp injury rather than the kind of chronic dull tightness that builds up over a training block or a stretch of long desk days, this isn't the tool for that moment. Skip it until any acute pain has settled, and check with a doctor if anything radiates down a leg or arm or comes with numbness. This routine is built for ongoing tension management, not acute injury care, and it works best as one piece of a broader recovery habit rather than a standalone fix.
The mistake isn't the mat. It's skipping the shirt, the slow lower-down, and the four weeks it actually takes to build real tolerance.
Ready to Build This Into Your Evenings?
This is the exact mat and pillow set I've followed this routine with since my first rough session. Check today's price on Amazon and give your back a real shot at it, starting with the shirt on.
Amazon Check Today's Price on Amazon →